NAO6 Unboxing and Initial Setup
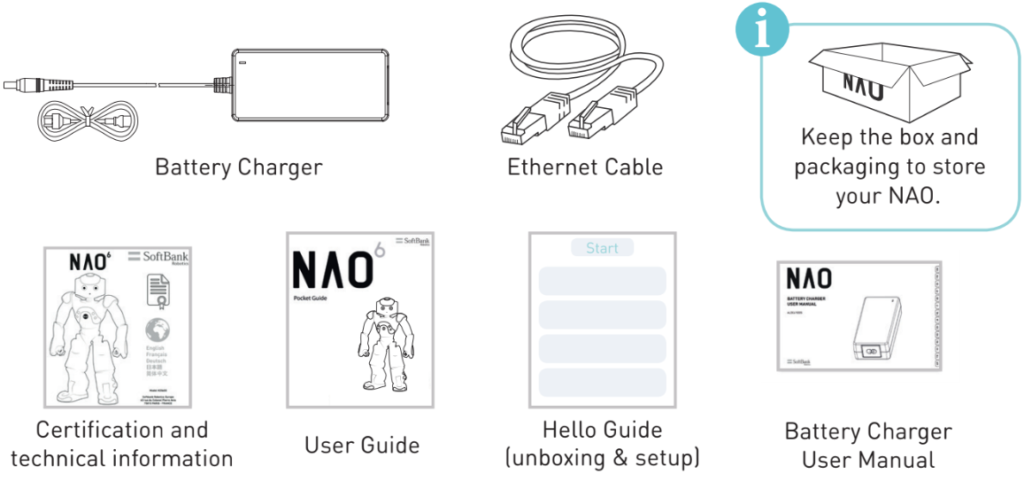
- Your new NAO
- Battery charger
- Ethernet cable
- Certification and technical information
- Battery charger user manual
- User guide
- Hello guide
If something is missing, please contact Support.
Next ? Let's unbox your NAO !
1. Get NAO out of the box as shown.
![]() Be carefull when picking NAO. Do not place your hands and fingers near the joints or between the limbs, you could get pinched.
Be carefull when picking NAO. Do not place your hands and fingers near the joints or between the limbs, you could get pinched.
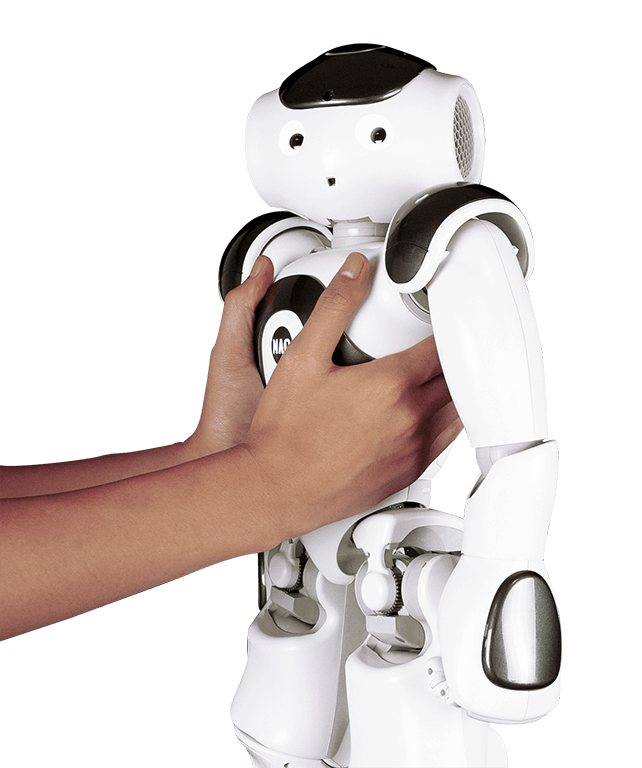
![]() Holding NAO by the waist is the best way to handle the robot.
Holding NAO by the waist is the best way to handle the robot.
2. Gently set NAO on the floor, in a Safe Posture.
Move NAO's legs and arms and put in a Safe Posture : crouch or sitting. ![]() NAO's fingers are fragile, do not pull on them or they might come off.
NAO's fingers are fragile, do not pull on them or they might come off.